
Anúncios
Not long ago, photographing the night sky meant a dedicated camera, a heavy tripod and a lot of technical know-how.
Today, the phone in your pocket can capture constellations, the Moon, star trails and, under dark skies, even the Milky Way.
Good results still depend on technique. Handheld snapshots of the stars usually come out as black frames or noisy smudges.
Anúncios
With a few inexpensive accessories and the right settings, the difference is dramatic.
Here is how to get started, from the gear you need to the best first targets and how to edit what you capture.
What a Phone Can and Cannot Do
Phones have small sensors and wide-angle lenses, which limits how much light they collect and how much fine detail they record.
They make up for this with clever processing: night modes take many short exposures and combine them, cancelling out much of the noise and blur.
That makes phones excellent for wide night scenes: a crescent Moon over a landscape, bright planets in twilight, constellations,
star trails and, from dark sites, the Milky Way.
They are also great for capturing the Moon through the eyepiece of a telescope or binoculars.
What a phone alone cannot do is show the detailed structure of faint galaxies and nebulae; that needs a telescope and specialized equipment.
The Essential Gear
You do not need much, but a few items are close to essential:
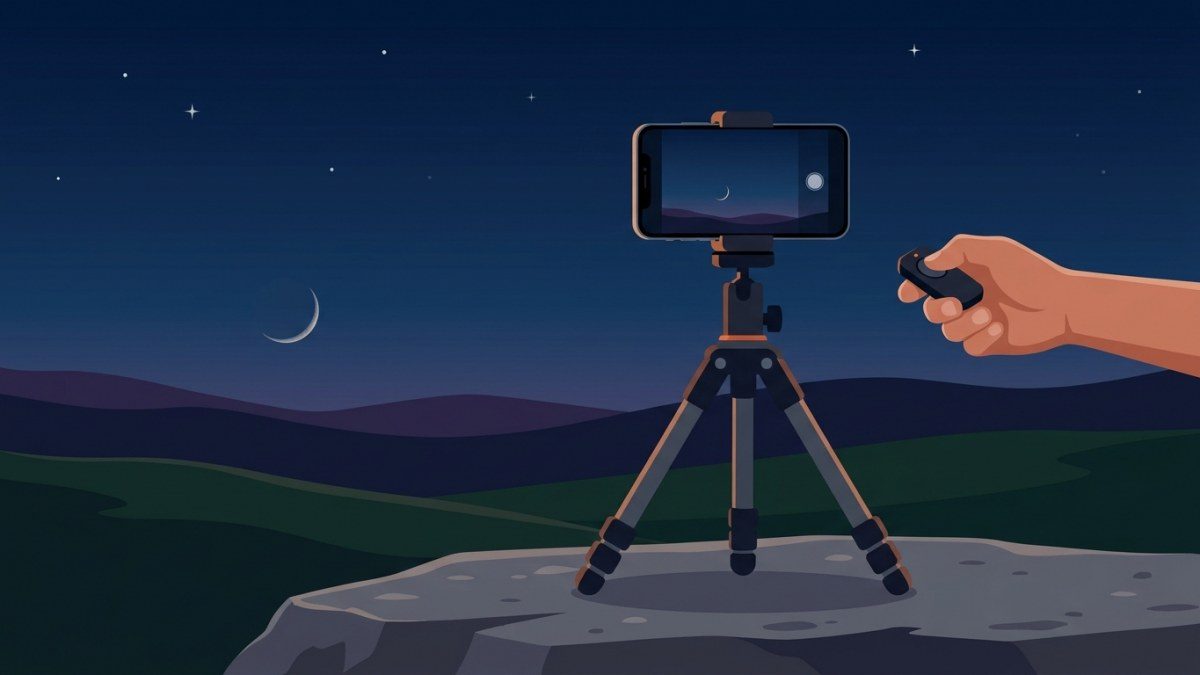
- A tripod and phone clamp. Even a small tabletop tripod transforms your results, because night exposures last seconds, not fractions of a second.
- A way to trigger the shutter without touching the phone. Use the self-timer, a wired or wireless remote, or voice control.
- A power bank. Long exposures and cold weather both drain batteries quickly.
- A red light. It lets you adjust settings without ruining your night vision.
- A lens cloth. Fingerprints and dew on a tiny phone lens cause glare and haze around bright objects.
- Optional: an eyepiece adapter. It holds the phone steady and centered behind a telescope or binocular eyepiece.
Camera Settings That Matter
Night and Astro Modes
Start with your phone's built-in night mode.
Many phones automatically extend the exposure when they detect a tripod, and some offer a dedicated astrophotography mode that shoots for up to several minutes.
These modes are the easiest way to get clean, bright star photos without any manual settings.
Manual or Pro Mode
If your phone has a manual or pro mode, or you use a camera app that offers one, you gain more control:
- Focus: Set manual focus to infinity, then fine-tune by zooming in on a bright star or distant light until it looks as small and sharp as possible.
- Shutter speed: Try 10 to 20 seconds for star fields on a tripod.
- ISO: Start around 800 to 1,600; go higher only if images are too dark, since higher values add noise.
- White balance: A setting around 4,000 kelvin usually gives a natural-looking night sky instead of an orange cast from light pollution.
- File format: Shoot in RAW if available; it holds more information for editing.
- Flash: Turn it off.
Keeping Stars Sharp
Because Earth rotates, stars drift across the frame during long exposures.
Beyond a certain length, round points stretch into short lines.
A rough guide called the 500 rule says the longest exposure in seconds is about 500 divided by the lens's focal length,
using the 35-millimeter-equivalent figure.
For a typical main phone camera, that works out to around 20 seconds; an ultra-wide lens allows longer, a telephoto much less.
Many photographers use an even stricter number for pin-sharp stars.
Good First Targets
- The Moon over a landscape. Shoot at dusk, when the sky and foreground are both still bright enough to capture together.
- Twilight pairings. A crescent Moon near Venus or Jupiter in deep blue twilight makes a beautiful, easy image.
- Constellations. Orion, the Big Dipper, Scorpius or the Southern Cross all fit well in a phone's field of view.
- Star trails. Point the camera toward the celestial pole and use an interval or trail mode, or stack many exposures in an app, to show stars sweeping in arcs around the pole.
- The Milky Way. From a dark site on a moonless night, use night or astro mode on a tripod and include some foreground for scale.
- Satellite passes and auroras. A bright satellite leaves a clean streak across a long exposure, and phones record aurora colors well.
Shooting Through a Telescope or Binoculars
Holding a phone's camera up to an eyepiece, a method called afocal photography, can produce surprisingly detailed pictures of the Moon.
Use a low-power eyepiece, focus the telescope for your eye first,
then center the phone's lens right over the eyepiece at the same distance your eye would be.
An adapter makes this much easier, but a patient, steady hand works too.
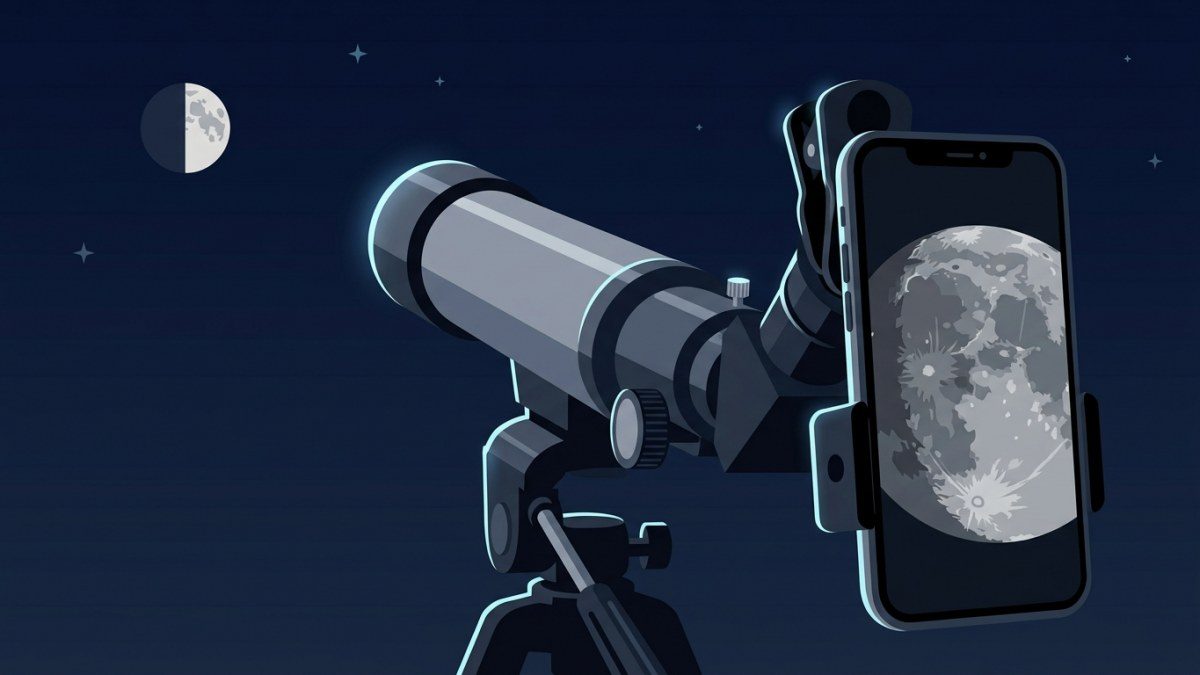
The Moon is very bright,
so tap the screen on it and slide the exposure down until craters and shadows appear instead of a white glare.
For planets, many photographers record short videos and use free stacking software to combine the sharpest frames, a more advanced step once you are comfortable.
Editing Your Shots
A little editing brings out much more.
Adjust the white balance so the sky looks neutral, gently lift shadows to reveal faint stars, and apply noise reduction sparingly.
Increase contrast a little to separate the Milky Way from the background.
Avoid heavy sharpening, which makes stars look crunchy, and keep your original files so you can re-edit later.
Taking several identical shots and stacking them in an app reduces noise even further.
A Word on the Sun
Never point your phone through binoculars or a telescope toward the Sun unless a certified solar filter is fitted over the front of the instrument;
the concentrated light can damage the phone and blind anyone who looks.
To photograph the Sun or a partial solar eclipse with a phone alone,
place a certified solar filter over the phone's lens,
and protect your own eyes with certified eclipse glasses while you aim. Never look at the Sun without them.
Frequently Asked Questions
Why does my Moon look like a bright white blob?
The phone is exposing for the dark sky around the Moon, which overexposes the Moon itself.
Tap on the Moon to set focus and exposure, then drag the exposure slider down.
Using the phone's optical telephoto lens, rather than digital zoom, also helps.
Why are my stars blurry or streaked?
Blur usually means the focus is not at infinity or the phone moved. Streaks mean the exposure was long enough for Earth's rotation to show.
Use a tripod and timer, refocus on a bright star and shorten the exposure.
Do I need a special app?
Not to start. Your phone's night mode is a great first step.
Apps with manual controls, interval shooting or stacking become useful once you want more control or plan to shoot star trails.
Keep Shooting
Start with a tripod, night mode and an easy target such as the Moon above a landscape at dusk.
Then try manual settings, star trails and a dark-sky trip for the Milky Way.
Every clear night is a chance to experiment, and your phone will likely surprise you with how much of the universe it can capture.
Sources and Further Reading
This article was reviewed by the LoudComet editorial team against the official sources below. Mission details and sky events change over time, so check the agencies' own pages for the latest information.
- Astrophotography With Your Smartphone, NASA Night Sky Network: A small tripod and timer, focusing on a bright star, exposures of several seconds, editing, and adapters that mount a phone on an eyepiece.
- Lunar Photography Guide, NASA Science: Tapping the Moon to focus, lowering the exposure so it looks gray rather than white, steadying the phone and shooting through an eyepiece.
- Suppliers of Safe Solar Viewers & Filters, American Astronomical Society: Solar filters that fasten over a smartphone camera lens, and filters for optics mounted securely over the front opening.
- How to View a Solar Eclipse Safely, American Astronomical Society: Never look at the Sun without ISO 12312-2 eclipse glasses, or through a camera, telescope or binoculars without a solar filter.